Make
Connect YourGPT to Make (Integromat) to build visual automations with thousands of apps.
💡 Connecting Your Chatbot with Make
Make.com (formerly Integromat) is a powerful visual platform that helps you connect YourGPT with thousands of apps to automate workflows without coding.
Before You Begin
Before starting the integration process, make sure you have:
- A YourGPT account: Sign up here
- A Make.com account (free or paid)
Integration Process
Connect to Make.com
Log in to your Make.com account.
Search for YourGPT Chatbot in the Make app directory.
Select and connect your "YourGPT Chatbot" to Make.com.
Set Up API Authentication
Head over to YourGPT Dashboard.
Navigate to Integrations ⇒ API Integration ⇒ Generate API key.
Copy your API key for use in Make.com.
Tip
For detailed instructions on generating API keys, visit the API Integration Guide
Create a Session
In your Scenario, add a new action and select "YourGPT Chatbot".
Choose Create Session as the action.
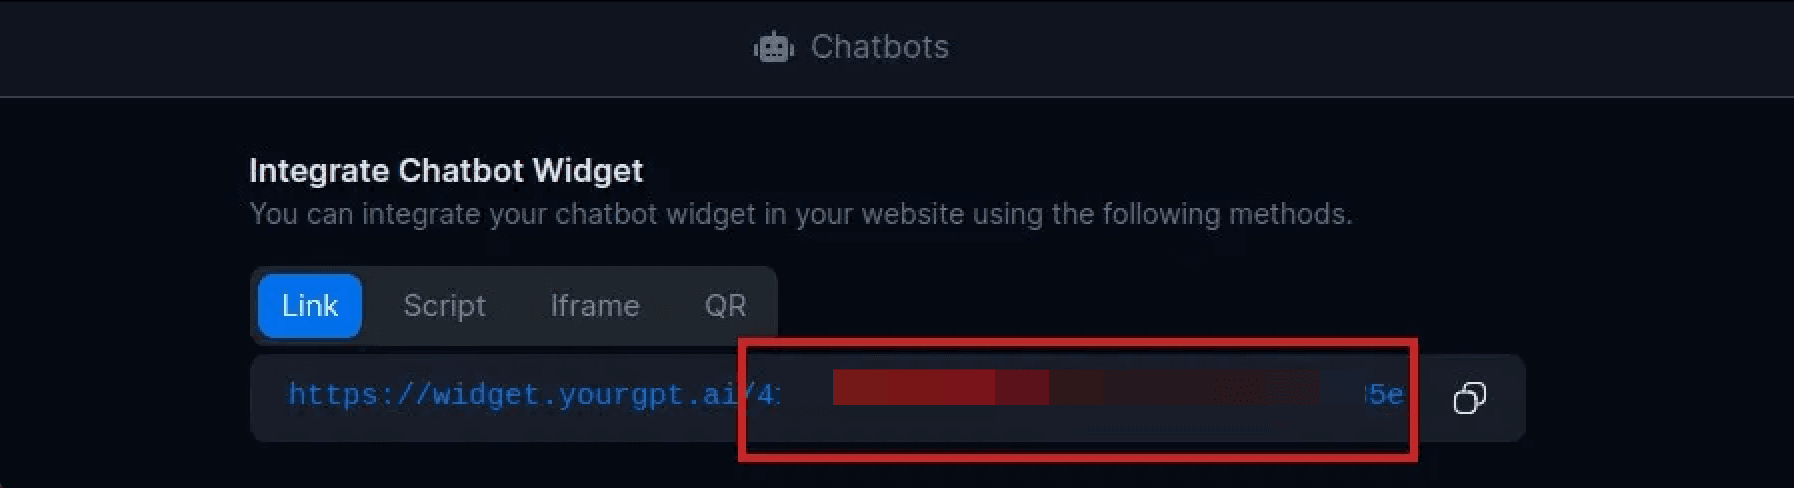
Provide the widget_uid in the action setup.
The widget_uid can be found in your YourGPT Integrations.
Tip
The Create Session action initializes a conversation with your YourGPT chatbot and returns a session_uid that you'll need for sending messages.
Send a Message
Add another YourGPT Chatbot action in your Scenario.
Select Send Message as the action.
Configure the following parameters:
widget_uid: The same ID used in the Create Session actionmessage: The text content you want to sendsession_uid: Map this from the output of the Create Session action
Test and Deploy
Test your Scenario thoroughly to ensure all actions work correctly.
Once tested, you can activate your Scenario for production use.
Consider adding error handling for robustness.
Use cases
Auto-answer helpdesk tickets
When a new ticket arrives, let YourGPT draft a reply from your knowledge base and post it straight back to the ticket. This uses the Create Session and Send Message actions you set up above.
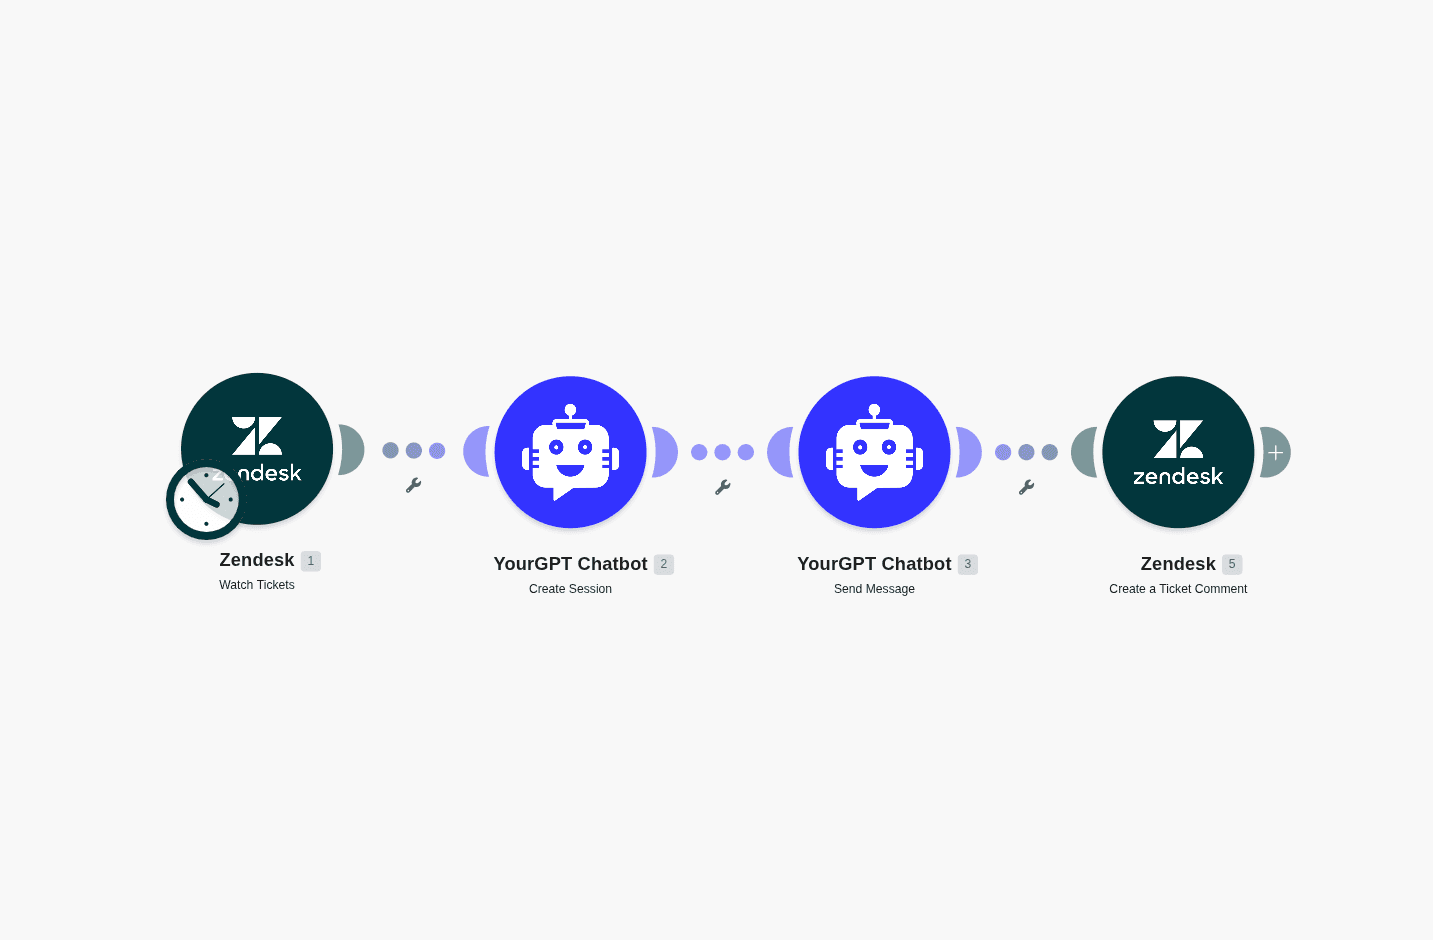
Trigger on a new ticket
Start a Scenario with your helpdesk module — for example Zendesk → Watch Tickets or Freshdesk → New Ticket.
Open a session
Add the YourGPT Chatbot → Create Session action with your widget_uid. It returns a session_uid.
Get a knowledge-grounded reply
Add the YourGPT Chatbot → Send Message action. Map the ticket's subject and body into the message, and the session_uid from the previous step. YourGPT replies using your trained knowledge.
Post the reply to the ticket
Add a Zendesk → Create a Ticket Comment action. Map the ticket ID from the trigger and put the Send Message output in the comment body — as a public reply or an internal note for an agent to review.
Route by team (optional)
Add a Router before this step to branch by topic or priority (e.g. send billing tickets to one team, technical ones to another) — Make's routers make this easy.
Capture leads into your CRM
Send every lead your chatbot captures straight to your CRM. Make receives the lead through a webhook and creates or updates the contact automatically.
Get a webhook URL
Add a Webhooks → Custom webhook module to a new Scenario and copy the URL.
Send the lead from YourGPT
Use your chatbot's Lead Generation webhook, or a Studio API Call node, to POST the lead fields to the Make URL.
Create the contact
Add a CRM module to create or update the contact and map the lead's fields. You can also add a Google Sheets or Slack module to log the lead or alert sales in the same run.
Activate
Turn the Scenario on. Every captured lead now lands in your CRM instantly.
By following these steps, you can integrate YourGPT AI chatbot with Make.com. For any questions, contact our team via Live support or Mail Us.