React Native
A React Native SDK for integrating YourGPT chatbot widget into iOS and Android applications.
Quick Start
Installation
SDK Repository
View the full SDK source code and examples on GitHub:
yourgpt-widget-sdk-react-native
Install the SDK and WebView dependency:
npm install yourgpt-react-native-sdk react-native-webviewThen install iOS pods:
cd ios && pod install && cd ..Step 1: Update Platform Configuration
Android - add internet permission to android/app/src/main/AndroidManifest.xml:
<uses-permission android:name="android.permission.INTERNET" />iOS - no additional permissions needed for basic chat.
Step 2: Initialize and Open the Chat Widget
import React from "react";
import { Button } from "react-native";
import { YourGPTProvider, useYourGPT } from "yourgpt-react-native-sdk";
function App() {
return (
<YourGPTProvider config={{ widgetUid: "your-widget-uid" }}>
<HomeScreen />
</YourGPTProvider>
);
}
function HomeScreen() {
const { open } = useYourGPT();
return <Button title="Open Chat" onPress={open} />;
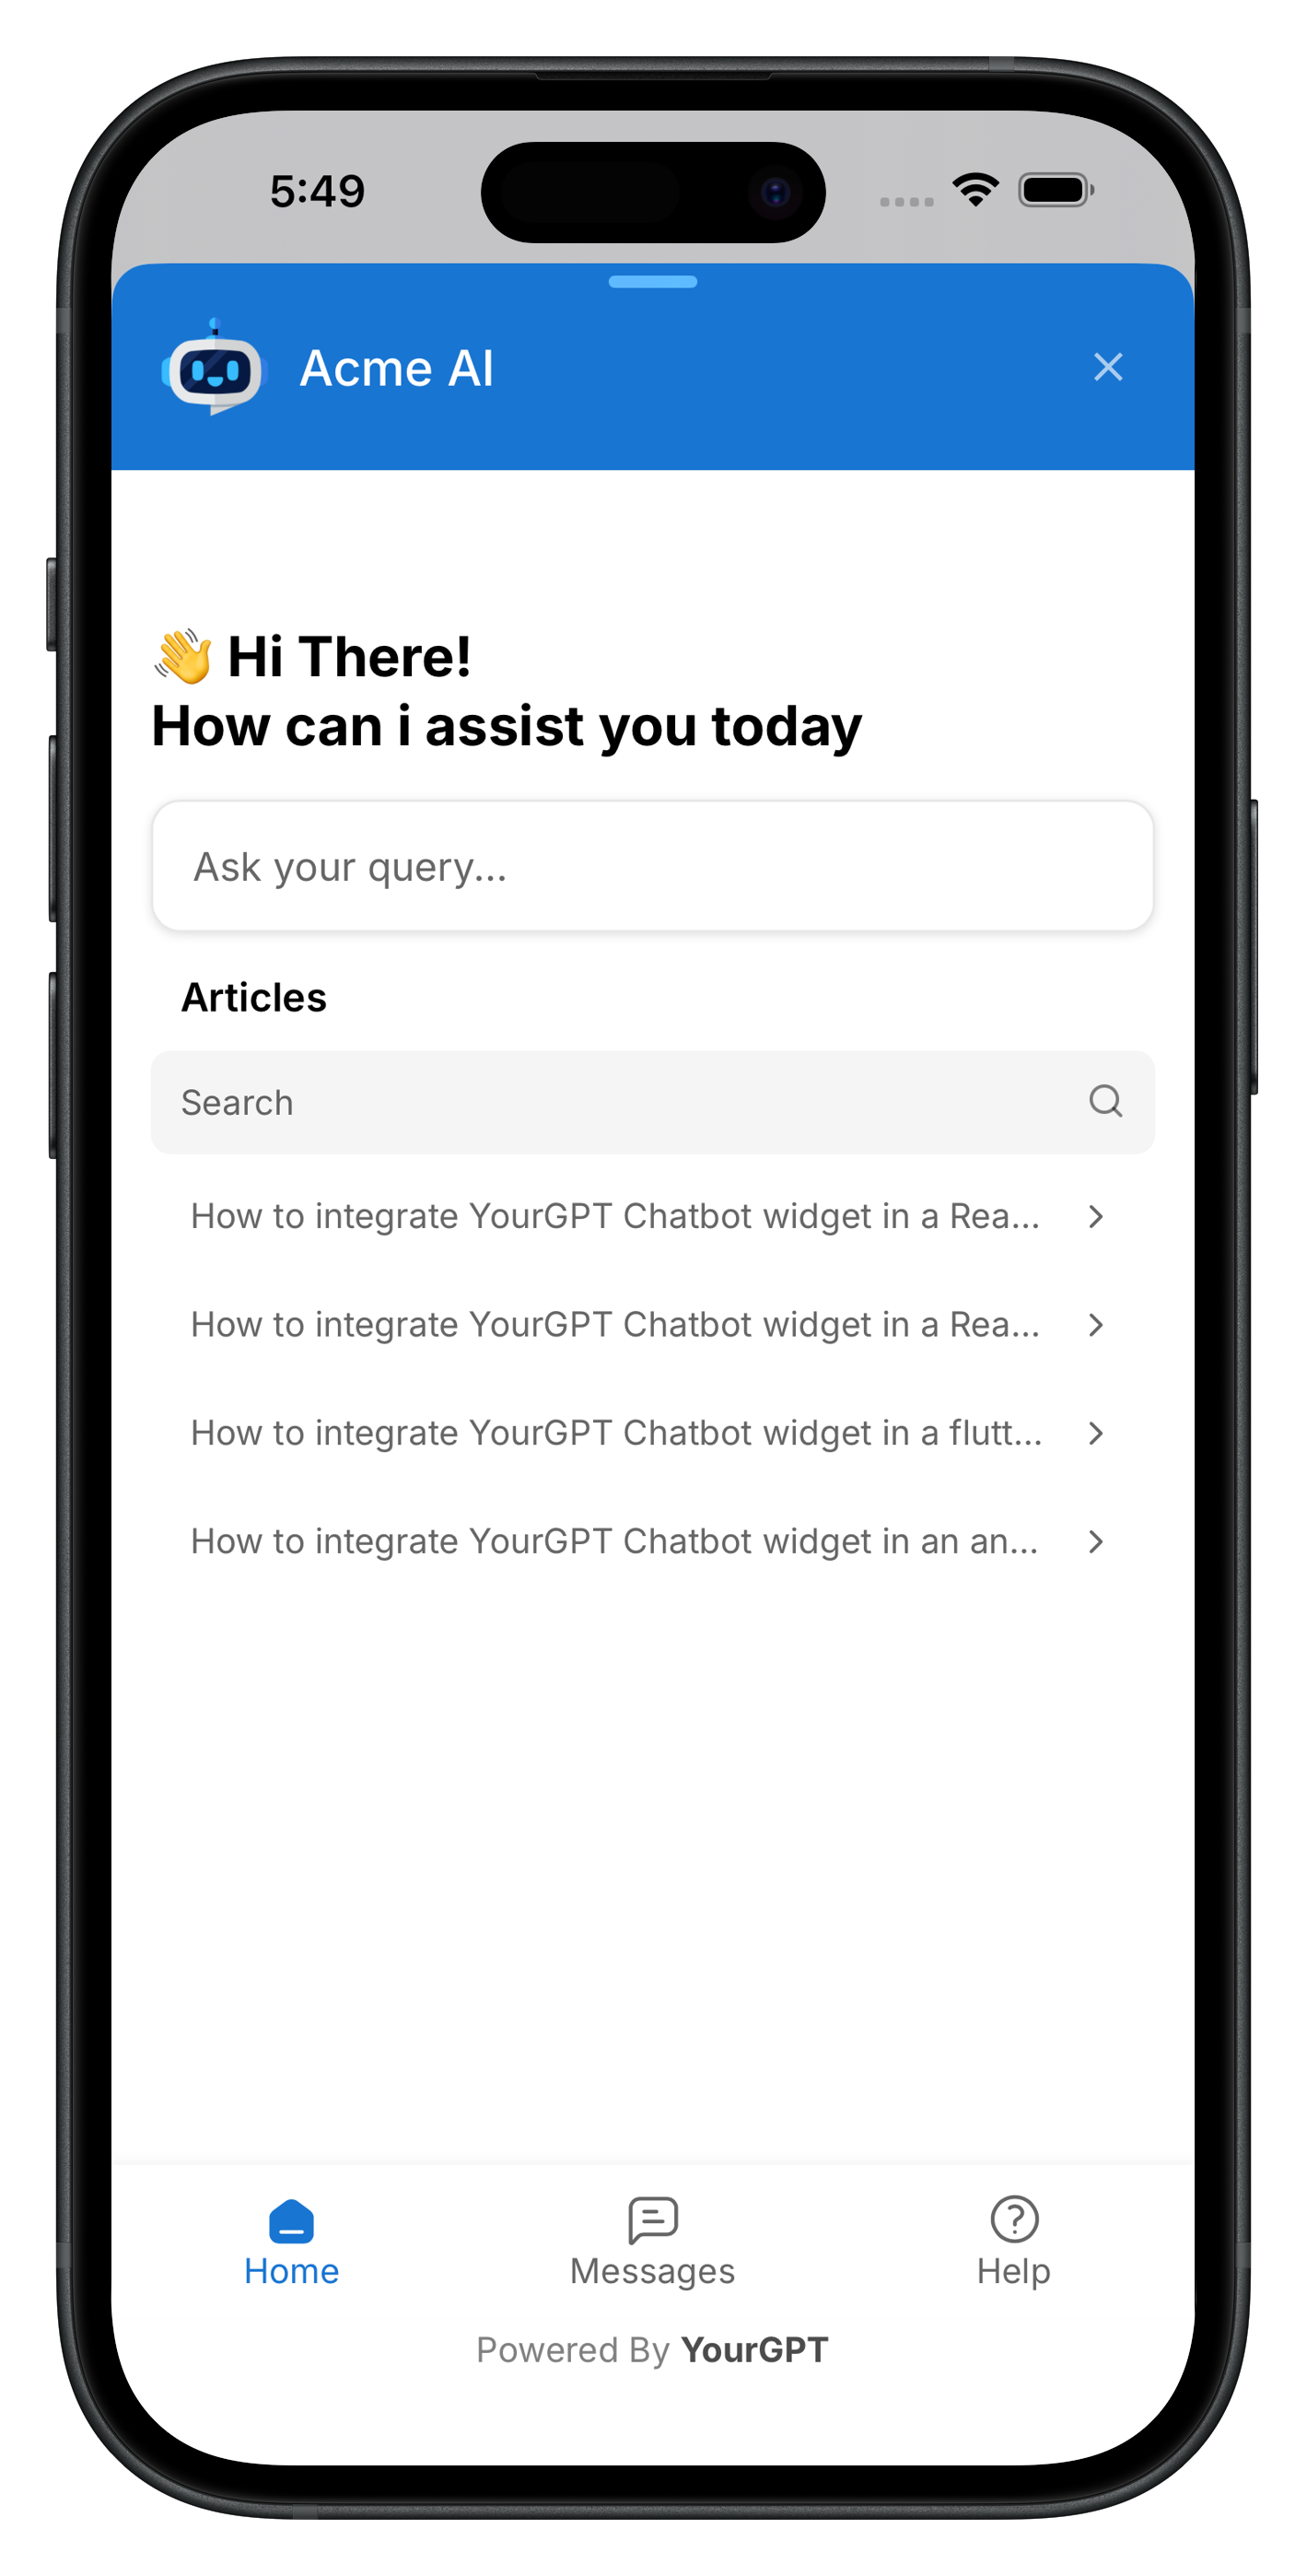
}That's it. The SDK handles the WebView, loading states, and lifecycle internally.
Quick Initialize (One-Liner)
Initializes the SDK and sets up push notifications in minimalist mode with a single call. You still need <YourGPTProvider> in the component tree for the bottom sheet, but can omit the config prop:
import { YourGPTSDK, registerNotificationHandler, YourGPTProvider } from 'yourgpt-react-native-sdk';

// index.js - register background handler
registerNotificationHandler();

// App.tsx - initialize + wrap with provider (no config needed)
await YourGPTSDK.quickInitialize('your-widget-uid');

function App() {
  return (
    <YourGPTProvider>
      <HomeScreen />
    </YourGPTProvider>
  );
}
Push notifications must be configured before using quickInitialize. See Push Notifications, and complete both
Android and iOS setup.
Configuration
import { YourGPTProvider, NotificationMode } from 'yourgpt-react-native-sdk';

<YourGPTProvider
  config={{
    widgetUid: 'your-widget-uid',
    debug: true,
    customParams: { lang: 'en' },
    enableNotifications: true,
    notificationMode: NotificationMode.MINIMALIST,
    autoRegisterToken: true,
    baseUrl: undefined,
  }}
>
  {children}
</YourGPTProvider>
Push Notifications
<YourGPTProvider
  config={{
    widgetUid: 'your-widget-uid',
    enableNotifications: true,
    notificationConfig: {
      soundEnabled: true,
      badgeEnabled: true,
      quietHoursEnabled: true,
      quietHoursStart: '22:00',
      quietHoursEnd: '08:00',
    },
  }}
>
  {children}
</YourGPTProvider>
iOS Setup
- In Xcode, add Push Notifications and Background Modes → Remote notifications capabilities.
- Add one line to your
AppDelegate.swift:
import yourgpt_react_native_sdk  // Add this import

// Inside didFinishLaunchingWithOptions, before React Native starts:
YourGPTApns.configure(application)
The SDK handles APNs token registration, foreground display, and notification tap events automatically. No manual delegate methods needed.
Android Setup
- Add
google-services.jsontoandroid/app/. - Add
POST_NOTIFICATIONSpermission toAndroidManifest.xml:
<uses-permission android:name="android.permission.POST_NOTIFICATIONS" />Opening the Chatbot
Via Hook (Recommended)
const { open } = useYourGPT();
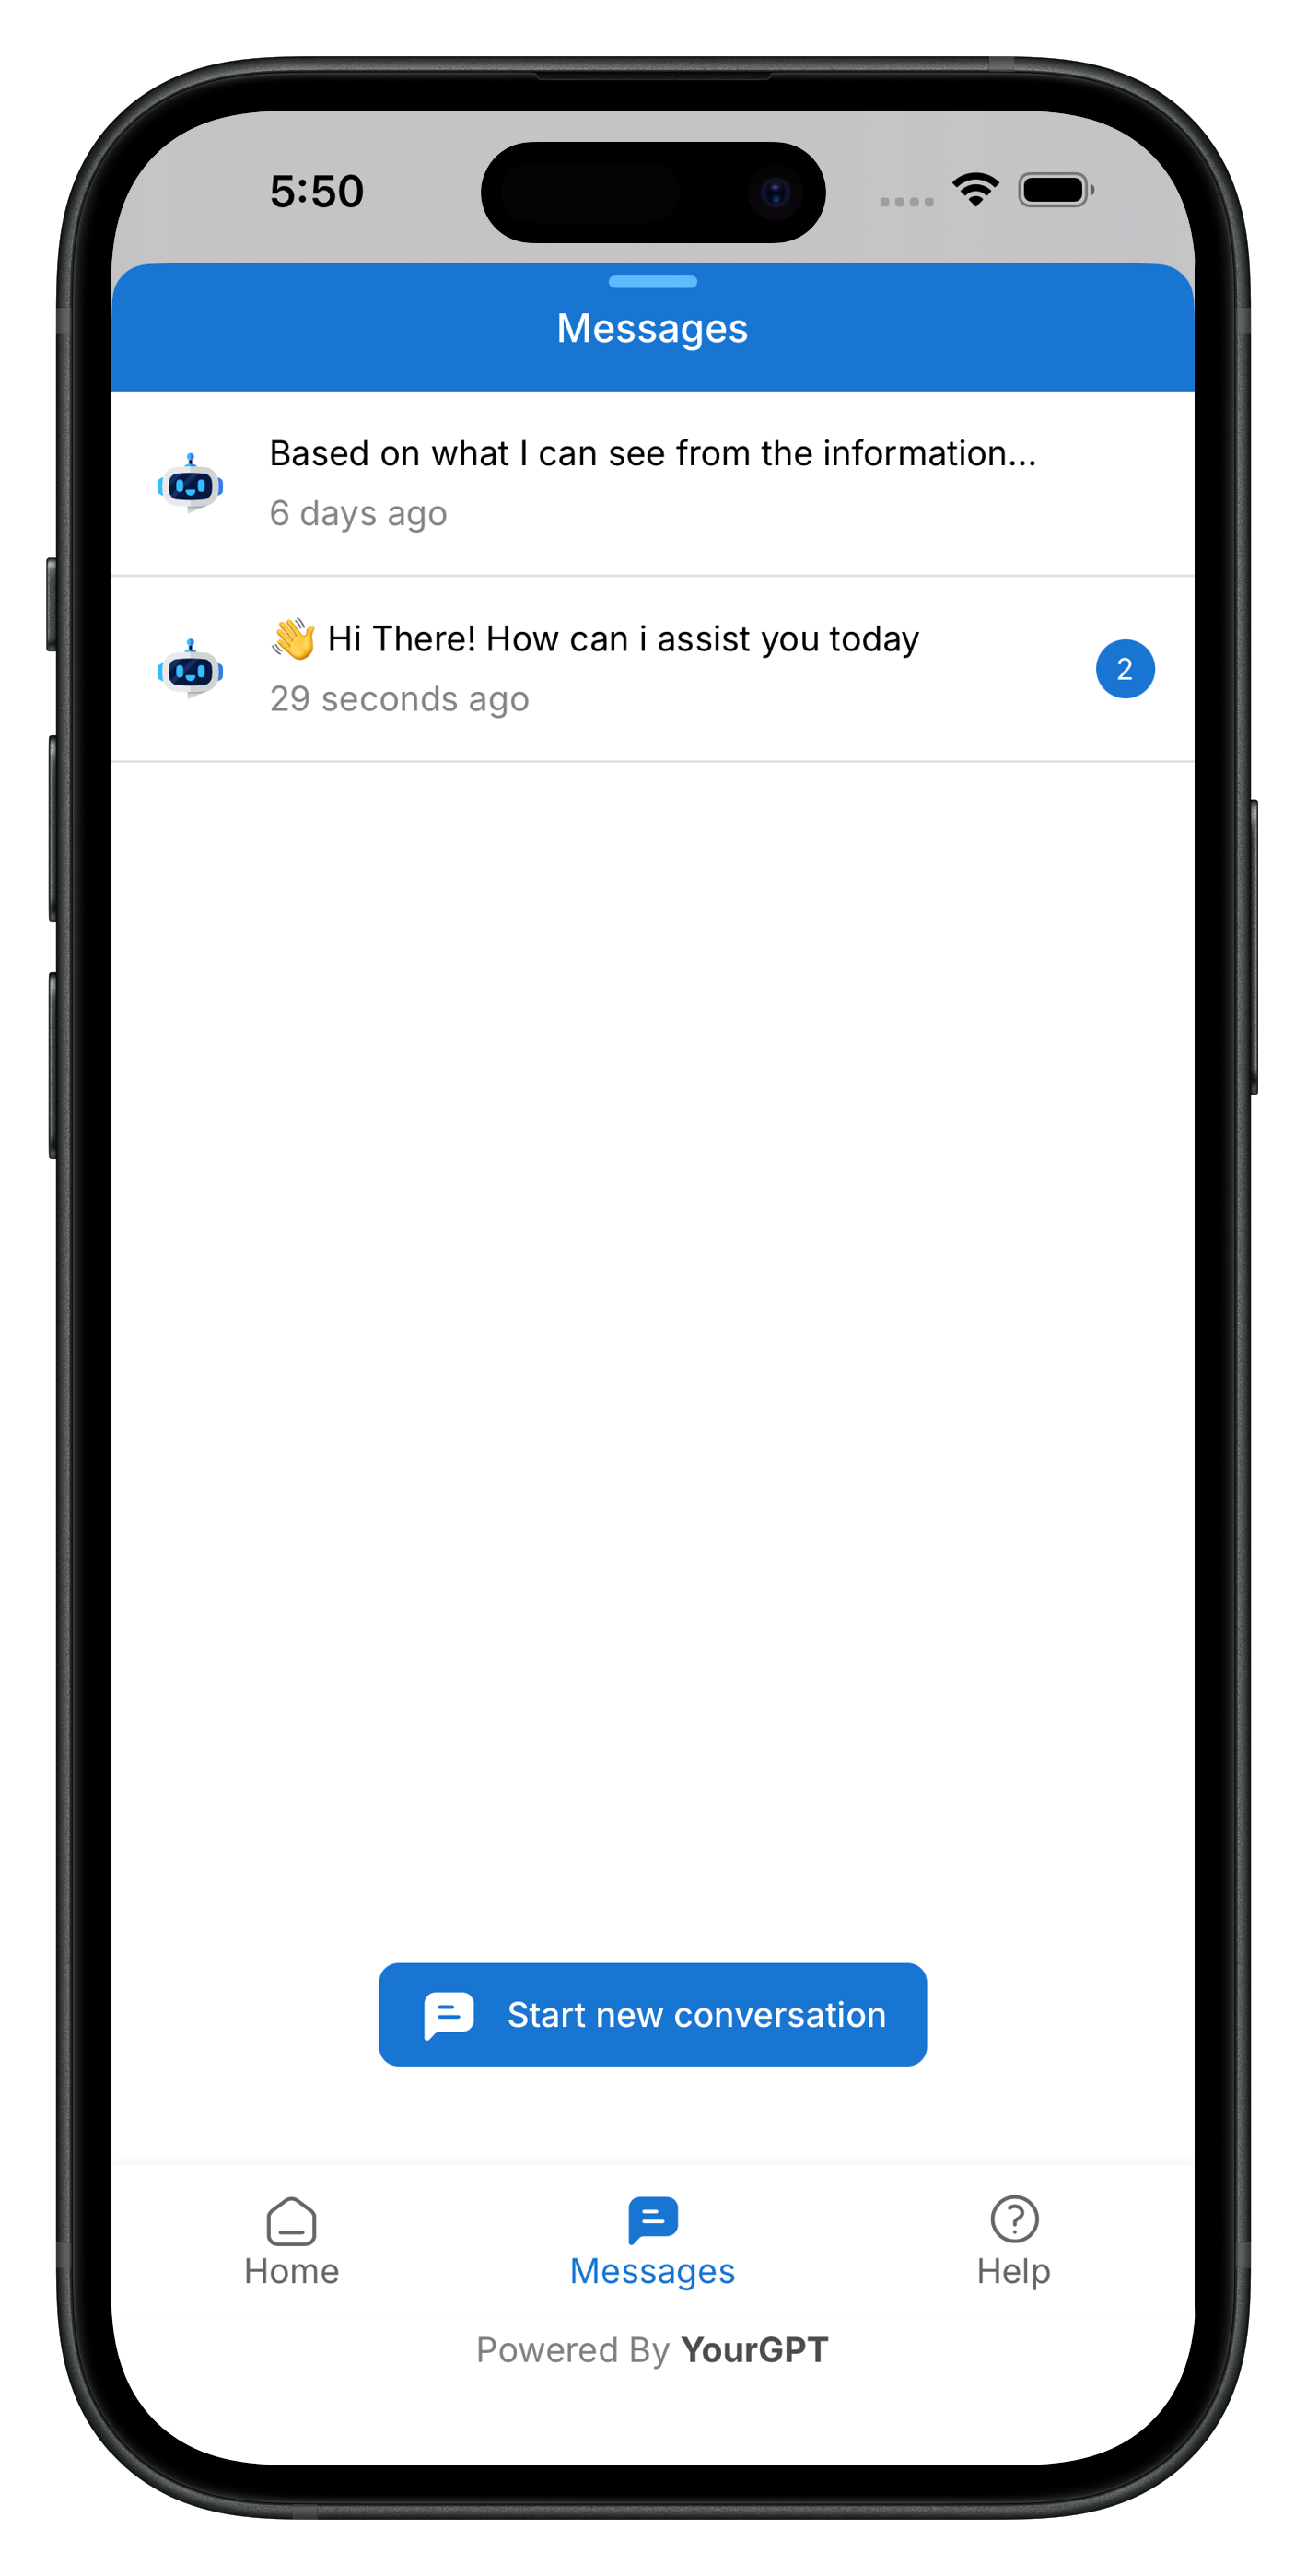
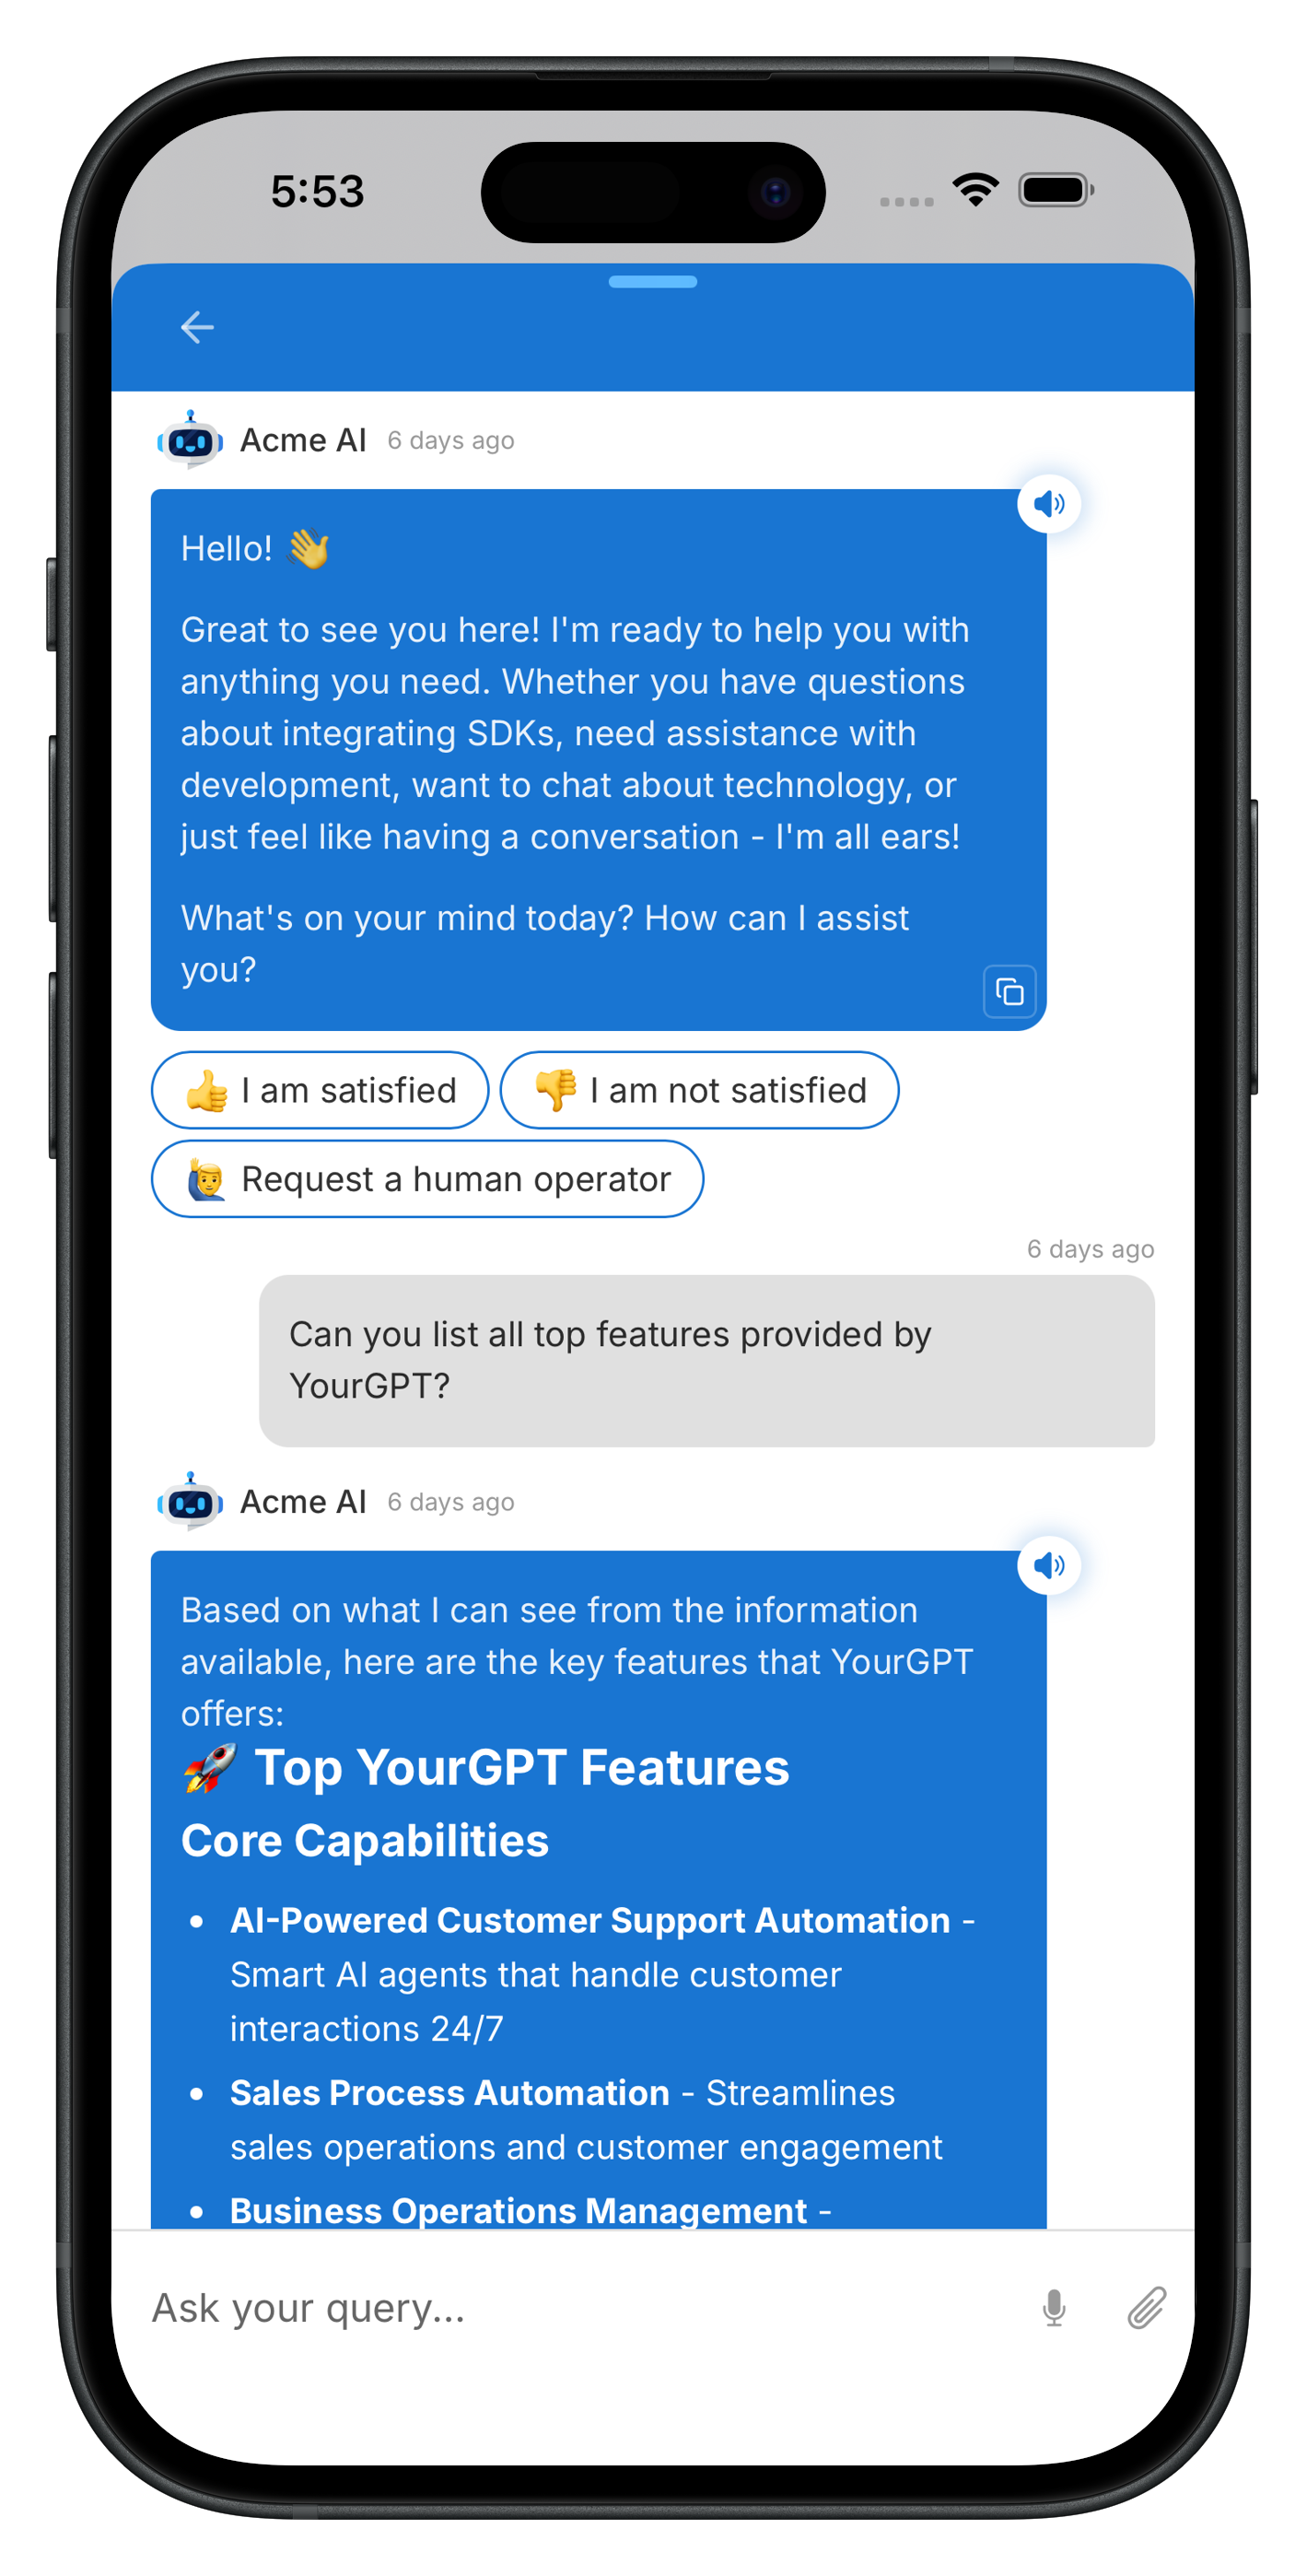
open();Open a Specific Conversation
const { openSession } = useYourGPT();
openSession("conversation-uid");
Event Handling
Global Event Listener
import { YourGPTSDK } from "yourgpt-react-native-sdk";
import type { YourGPTEventListener } from "yourgpt-react-native-sdk";

const listener: YourGPTEventListener = {
  onMessageReceived: (message) => console.log("Message:", message),
  onChatOpened: () => console.log("Chat opened"),
  onChatClosed: () => console.log("Chat closed"),
  onError: (error) => console.error("Error:", error),
  onLoadingStarted: () => console.log("Loading..."),
  onLoadingFinished: () => console.log("Loaded"),

  onPushTokenReceived: (token) => console.log("Push token:", token),
  onPushMessageReceived: (data) => console.log("Push message:", data),
  onNotificationClicked: (data) => console.log("Notification tapped:", data),
  onNotificationPermissionGranted: () => console.log("Notification permission granted"),
  onNotificationPermissionDenied: () => console.log("Notification permission denied"),
  onPushTokenError: (error) => console.error("Token error:", error),
  onBadgeCountChanged: (count) => console.log("Badge:", count),
};

YourGPTSDK.setEventListener(listener);
SDK State
useSDKState Hook
import { useSDKState } from "yourgpt-react-native-sdk";

function StatusBar() {
  const state = useSDKState();

  return (
    <View>
      <Text>Initialized: {state.isInitialized ? "Yes" : "No"}</Text>
      <Text>Connection: {state.connectionState}</Text>
      <Text>Loading: {state.isLoading ? "Yes" : "No"}</Text>
      <Text>Badge: {state.badgeCount}</Text>
      {state.error && <Text>Error: {state.error}</Text>}
    </View>
  );
}
Connection States
| State | Description |
|---|---|
DISCONNECTED | Not connected to the widget |
CONNECTING | Widget is loading |
CONNECTED | Widget is loaded and connected |
ERROR | An error occurred |
Error Handling
| Error Code | Description |
|---|---|
NOT_INITIALIZED | SDK has not been initialized - call initialize() first |
INVALID_CONFIG | Configuration is invalid or missing required fields |
WEBVIEW_ERROR | An error occurred in the WebView |
NETWORK_ERROR | A network error occurred |
NOTIFICATION_DENIED | Notification permission was denied |
BRIDGE_PARSE_ERROR | Failed to parse a message from the WebView bridge |
Requirements
- React Native >= 0.72
- React >= 18
- iOS 13.0+
- Android API 21+
- Node.js >= 20
Peer Dependencies
| Package | Required | Purpose |
|---|---|---|
react-native-webview | Yes | WebView for chat widget |
react-native-safe-area-context | Optional | Safe area handling |
@react-native-firebase/messaging | Optional | Android push notifications |
@react-native-community/push-notification-ios | Optional | iOS push fallback (built-in native module handles this automatically) |
Resources
- GitHub Repository: yourgpt-widget-sdk-react-native